Getting started with Amazon WorkSpaces with your own custom WorkSpaces bundle !!
Note: This is not an official blog or documentation, just a quick summary of the steps that I did to create a custom bundle/image for Amazon Workspaces
Background
Amazon WorkSpaces are virtual, cloud-based Microsoft Windows or Amazon Linux desktops for users. There is exhaustive documentation available at https://docs.aws.amazon.com/workspaces/index.html which goes into the nitty-gritty of this amazing service from AWS.
I have to admit that before these past few weeks, though I knew a little about Workspaces, I had really not done a deep-dive hands-on beyond launching WorkSpaces. A few of the customers that I work with had a very specific ask, how to create a custom WorkSpaces Windows bundle/image, which can serve as a master image and then be used to launch multiple WorkSpaces.
First, the basics:
From https://docs.aws.amazon.com/workspaces/latest/adminguide/amazon-workspaces-bundles.html
A WorkSpaces bundle is a combination of an operating system, and storage, compute, and software resources. When you launch a WorkSpace, you select the bundle that meets your needs. The default bundles available for WorkSpaces are called public bundles. For more information about the various public bundles available for Amazon WorkSpaces, see Amazon WorkSpaces Bundles
A custom image contains only the OS, software, and settings for the WorkSpace. A custom bundle is a combination of both that custom image and the hardware from which a WorkSpace can be launched.
There is an Work from home offer for Amazon Workspaces, details are available at https://aws.amazon.com/blogs/desktop-and-application-streaming/new-offers-to-enable-work-from-home-from-amazon-workspaces-and-amazon-workdocs/
Before you start banging up the keyboard, please be aware of the Amazon WorkSpaces Application Manager (WAM) — From https://aws.amazon.com/workspaces/applicationmanager/ — “Amazon WAM allows you to build and curate a selection of desktop applications for your users and control access to those applications. You can build an application catalog of third party applications that you already own the license for, internally-developed custom applications, and applications purchased through the AWS Marketplace for Desktop Apps. Simple, pay as you go, user-based pricing ensures that you only pay for the applications that people use.”
Also, please make sure if Amazon Workspaces are available in your desired region — https://aws.amazon.com/about-aws/global-infrastructure/regional-product-services/
My use-case for this blog:
In my fictitious use-case, I wanted an Workspaces Image which had two software components that were pre-installed which will be hugely useful for developers who don’t have to download them when they get their Workspaces :
1. Amazon Corretto 11 — Amazon Corretto is a no-cost, multiplatform, production-ready distribution of the Open Java Development Kit (OpenJDK) — https://aws.amazon.com/corretto/
2. AWS Command Line Interface (CLI) version 2 — The AWS Command Line Interface (AWS CLI) is an open source tool that enables you to interact with AWS services using commands in your command-line shell — https://docs.aws.amazon.com/cli/latest/userguide/cli-chap-welcome.html
You can probably extend this and add any developer tools and utilities ..
Creating an Custom bundle
The process is fairly straightforward:
Step 1: Create a user Directory or use an existing directory. You have several choices in the AWS Management console under Directory Service :
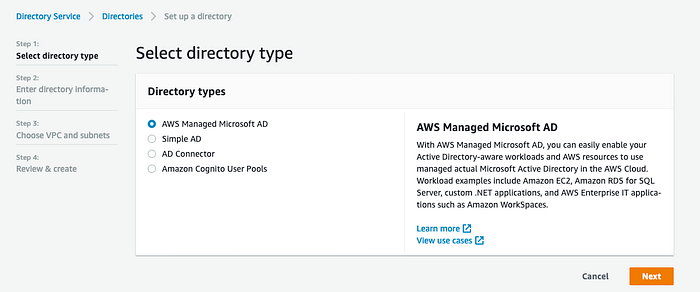
I opted to create a new AWS Managed Microsoft AD Directory.
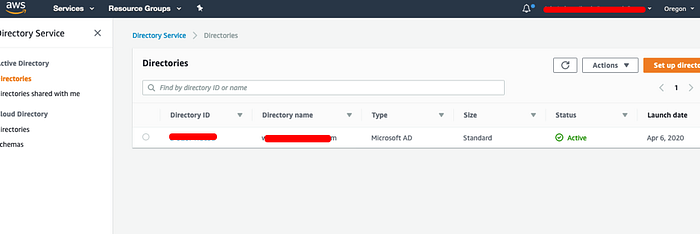
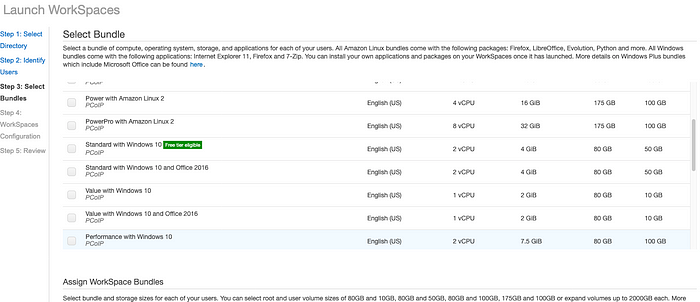
Step 2: Launch an Workspaces leveraging the Directory that was created in the previous step, make sure you create a user and please give a valid email id as the user registration details are sent to this email id. There are several Amazon Linux and Windows bundles available, I selected Standard bundle as shown below ..
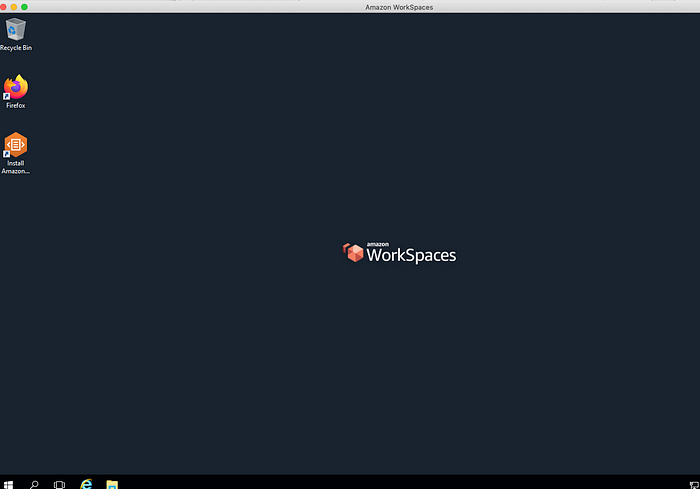
After sometimes, the Workspaces gets provisioned .. Register the user as per the email that would have been received. You can connect to Workspaces either using the web (https://clients.amazonworkspaces.com/webclient#/registration) or by using a client (https://clients.amazonworkspaces.com)/
Login to the Windows Workspaces using the AWS Workspaces client using the registration code and user credentials.
First, please make sure you run the Windows Update:
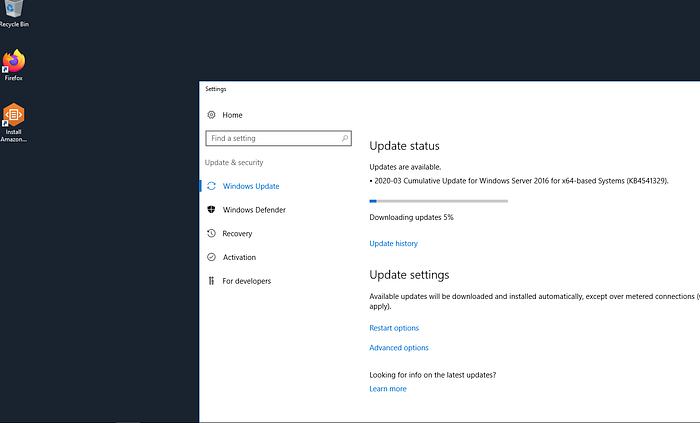
The download and installation of the Windows Update will take time, and the desktop will reboot.
After reboot, I logged in, downloaded (using Chrome that is already present on Workspaces) and Installed the two pieces of software that I wanted to be pre-installed for my developers, for testing :
- Amazon Corretto 8 for Windows x64
- AWS CLI 2 for Windows x64
Verify, whether the software was installed correctly.
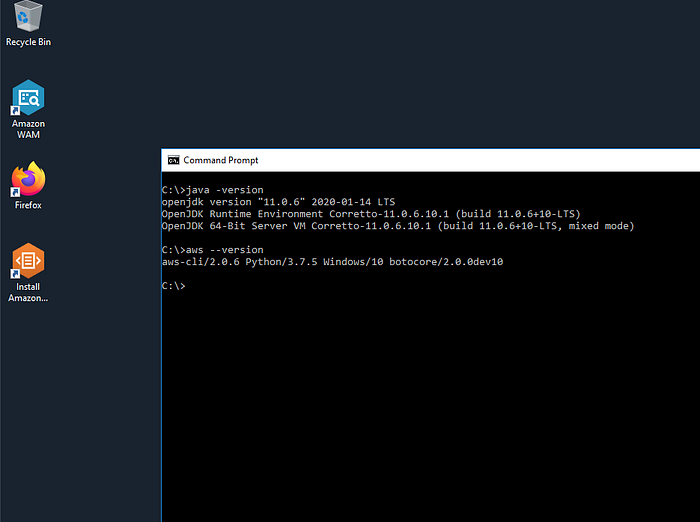
Exit the Workspaces client and reboot the Workspaces desktop, just to ensure that all the patches and software have installed correctly.
Step 3: Create Workspaces bundle
The first step is to create an Image:
Click the Workspaces that was launched and select Create Image option. This process takes time, if you have issues in creating the image, make sure you check out the requirements needed to create an Workspaces image at https://docs.aws.amazon.com/workspaces/latest/adminguide/create-custom-bundle.html#windows_custom_image_requirements
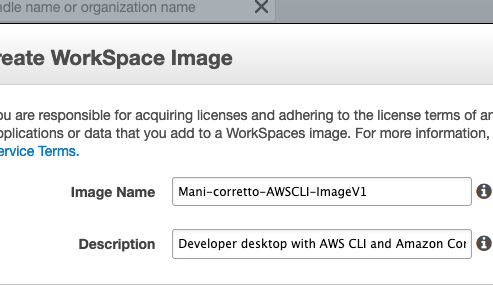
This process of creating an image takes time, if you do ecnounter any errors, make sure you read the custom image requirements section in the documentation again to ensure that you are not doing something that is prohibited.
Finally, we get this message after a successful creation of an Image.

Second Step is to create an bundle.
A bundle is a combination of an Image + Workspaces hardware instance type. My bundle looked like this:
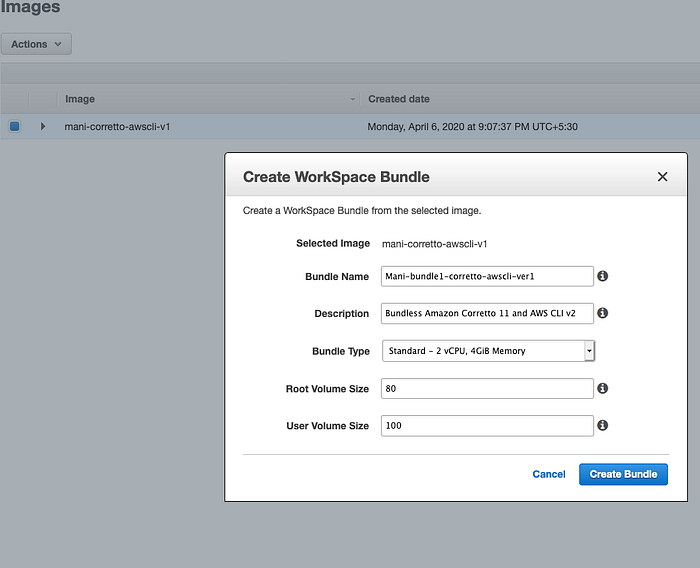
With the above step, we now have a custom bundle with our favorite applications installed and ready to be used by other Workspaces users !!
Step 4: Finally, launch an developer Workspaces with the newly created bundled image !!
The steps are simple:
- Launch Workspaces and select our directory server.
- Identify users that will have access to these Workspaces, these can be existing users or create new users.
- Make sure you select the bundle we created in the previous step:

4. If you want, you can make changes to the Workspaces configuration section
5. Launch Workspaces !!
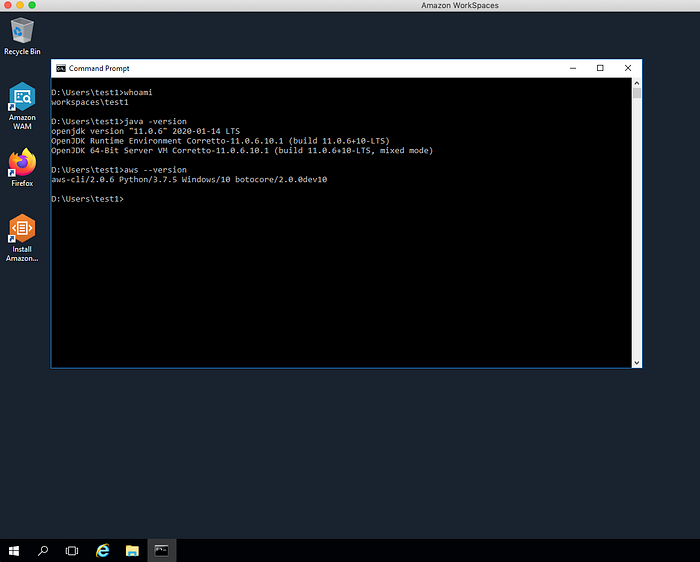
I logged into the new Workspaces, and verified that Amazon Corretto and AWS CLI have been pre-installed !!
Also, please make sure to stop your Workspaces, if you don't need them. This can save you $$$.
Summary:
This has been a quick summary for creating an custom bundle with Amazon Workspaces Windows — prepackaging applications that will be needed by Workspaces users.
This blog barely scratched the surface of the entire capabilities of Amazon Workspaces, including the Linux edition of Workspaces — https://aws.amazon.com/workspaces/
There are plenty of blogs and guides at the AWS website:
- Best practices for deploying Amazon WorkSpaces
- More resources including reInvent videos and documentation — https://aws.amazon.com/workspaces/resources/
- Workspaces admin guide — https://docs.aws.amazon.com/workspaces/latest/adminguide/amazon-workspaces.html
Hope this was useful !!


